My first steps as an amateur astronomer were as a teenager more than 25 years ago. A passion was sparked that accompanied me until my university days, but got a significant damper as I went from student life to full-time work. The interest in the sky above had not disappeared. Few things could make me happier than a magnificent starry night. In my job as a pilot, I enjoyed the possibility of gazing into the universe from above the clouds and far away from light pollution.
But gone were the times when I would drive a car full of equipment for hours to reach a dark observing site, where I’d take pictures of planets, nebulae and galaxies until the break of dawn. I had energetically plunged into the skills to take better and better astrophotos: first manual, then automatic guiding of the mount; developing E6 slide films at home; digital processing with Photoshop. It was a war of attrition, it was expensive, and still I was far away from the best astrophotographers in the world!
At some point in time, the need for a simpler form of astronomy overwhelmed me. I sold most of my gear. All that remained was a compact, optically brilliant 80/480 mm TMB apochromatic refractor on an alt-az mount and a digital SLR on a tripod. I limited myself to “indulgent observing” on the balcony and to landscape astrophotography.
Still, every few months I felt a longing when I saw the new works of the old- and new-timers. I was amazed at the technological progress taking place. With every new generation of digital cameras, their resolution and sensitivity became better, sensor noise decreased. Powerful, mostly automated software completed tasks that, just a decade ago, had to be performed in toilsome manual labor, if they were possible at all! Today, even smartphones can take astrophotos that by far outrival my first attempts with film.
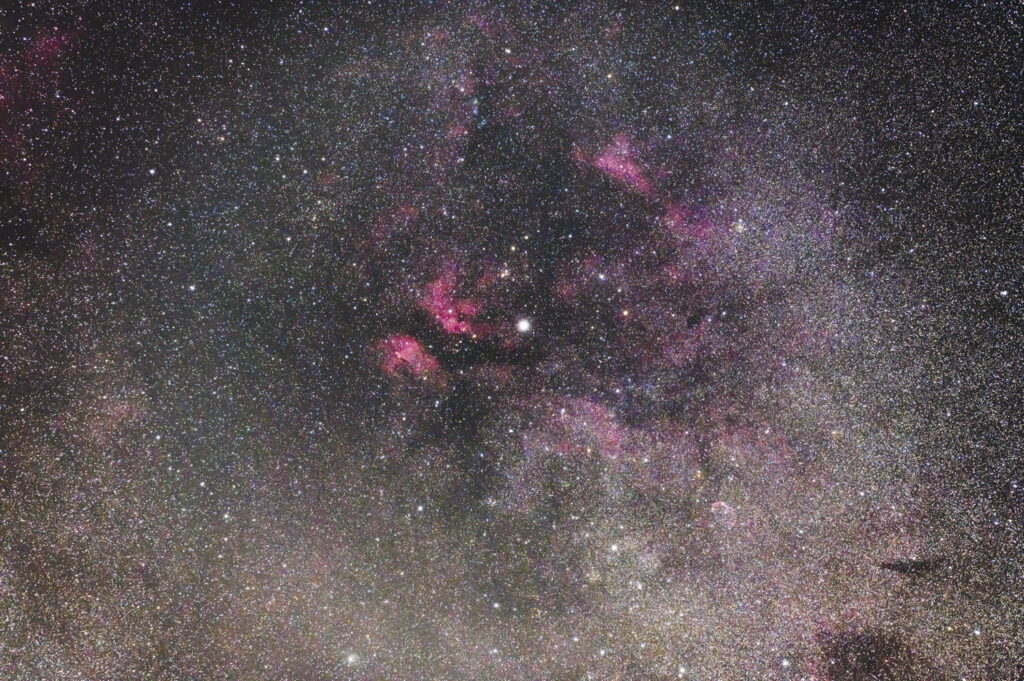
I wanted to take more pictures at night and pushed my equipment to its limits. Without tracking, the shutter speed for celestial objects is very limited. The rule of thumb says that focal length divided by 500 equals the time in seconds, at which they start to trail as a result of Earth’s rotation. For the TMB, this time is around one second, but significantly shorter for the discerning eye. When Venus passed through the Pleiades this April, I realized that the limitations of my gear were too much and knew I needed a motorized equatorial mount again.
For about fifteen years, I hadn’t owned a tracking mount for my telescope and the market has really been revolutionized. Not only can simple cameras take much better photos of the night sky out of the box than high-tech specialized gear could with a lot of effort one or two decades ago. Precision tracking is also no longer out of financial reach of the middle class astronomer. For my compact, but heavy telescope, the iOptron CEM25EC was offered to me for an exhaustive review by Astroshop, which sells the mount throughout Europe at a competitive price. Delivery was fast, within two days I was able to start putting the new gear through its paces. My first impression in one word: awesome! In a few more words: keep reading…
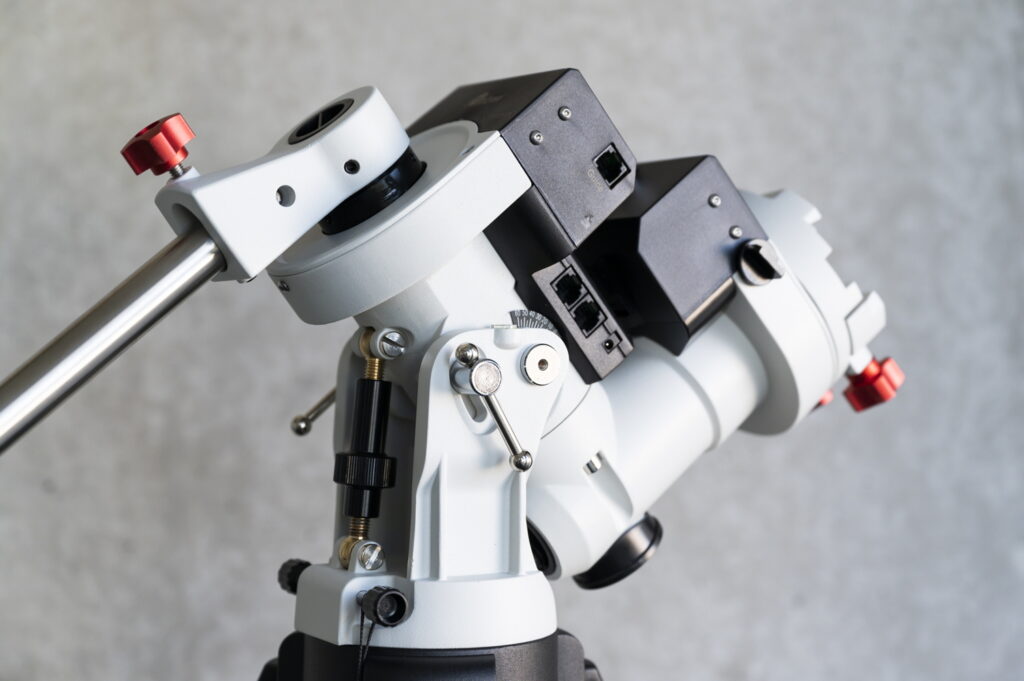
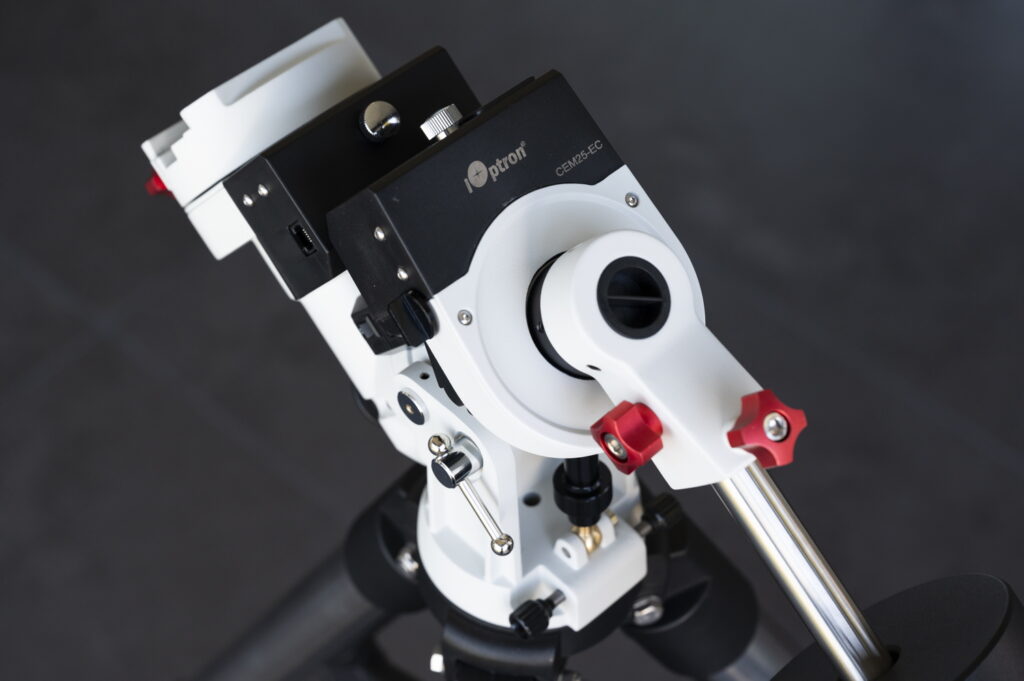
The iOptron CEM25EC is the top of the line version of a series of mounts starting under 1000 €. The basic setup comes with everything you need to get your scope following the motion of the stars and planets for astrophotography (or stress-free visual observing, for that matter). Tripod, mount head, counterweight system, and even an illuminated polar scope are all included. The polar scope is an accessory indispensable for speedy and precise alignment of the mount to Earth’s axis for optimal tracking. Often available only at a price premium, it is included in all versions of the CEM25!
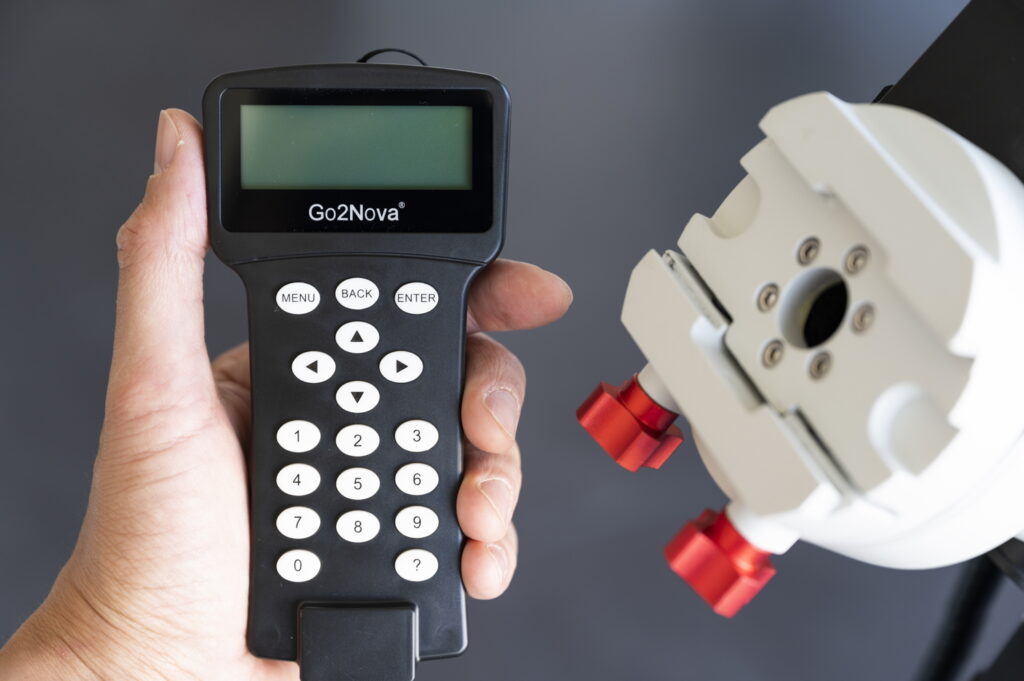
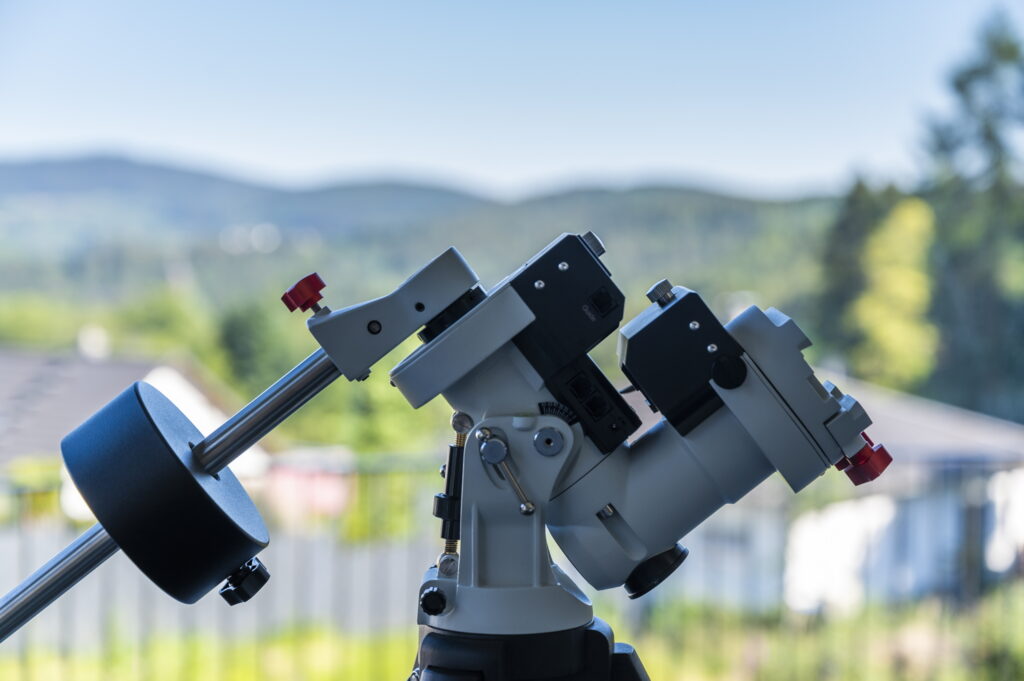
Integrated GPS along with a computer controller handbox lets you quickly align your system to the sky overhead and find any of the 59,000 objects in the database with the push of a button. The model I’m reviewing here costs about twice as much as the base model. For that premium, you get optical encoders for extremely precise tracking, making your astrophotos even better. It also comes with the advanced control software of the semi-professional CM60 mount.
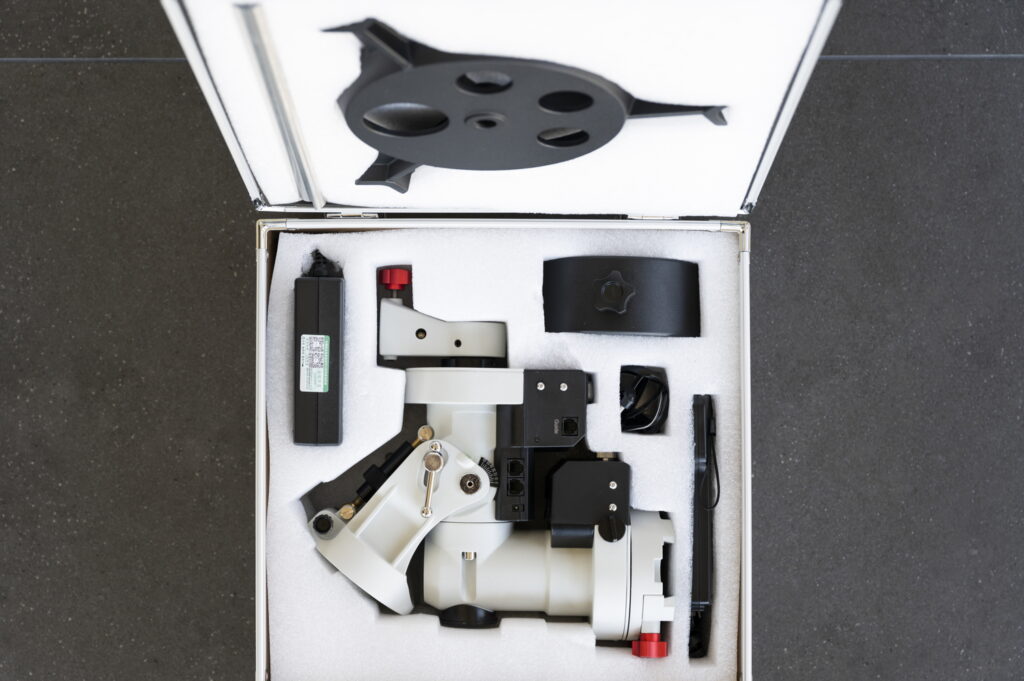
Another positive aspect of this mount is the transport case included with all versions except the simplest base model. It has a padded interior that accommodates all parts but the tripod. I’ve owned mounts that cost multiples of the CEM25EC and had to construct my own cases – not what you expect for gear that’s meant to be portable. And portable this mount is: Without a telescope and counterweight, I can easily lift it with one hand. The head weighs a scant 4.7 kg, but can be loaded with over 12 kg! This incredible feat is made possible by the ingenious center-balanced z-shaped design of the head. It seems to be one of the innovations I missed in the last decade. While a bit strange to use at first, it allows a lot of stability in a very compact package, minimizing torsion in the polar wedge.
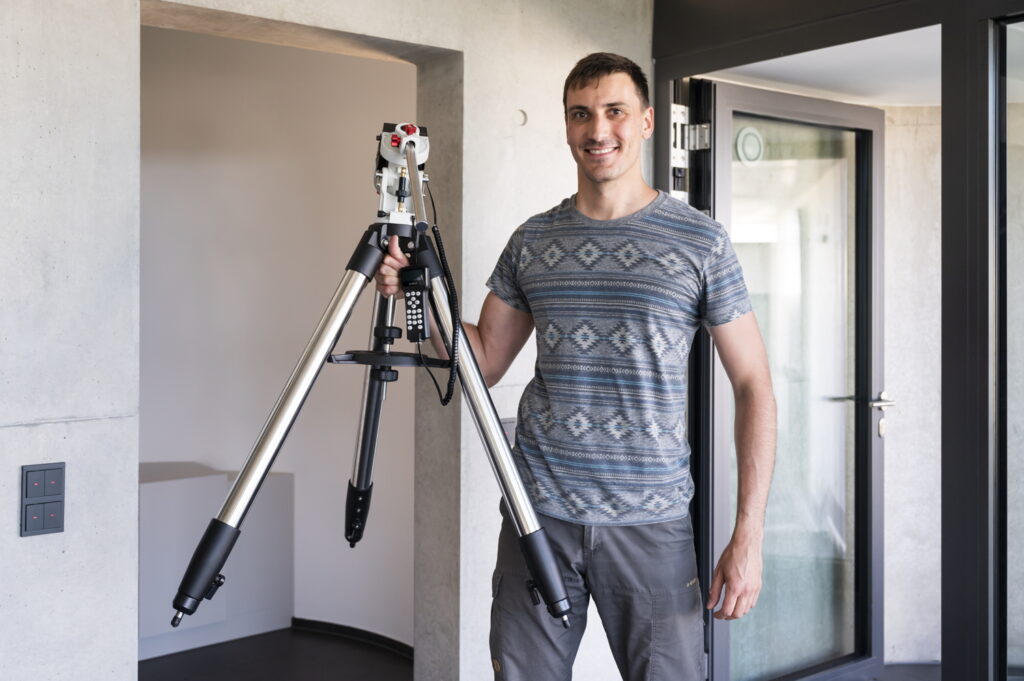
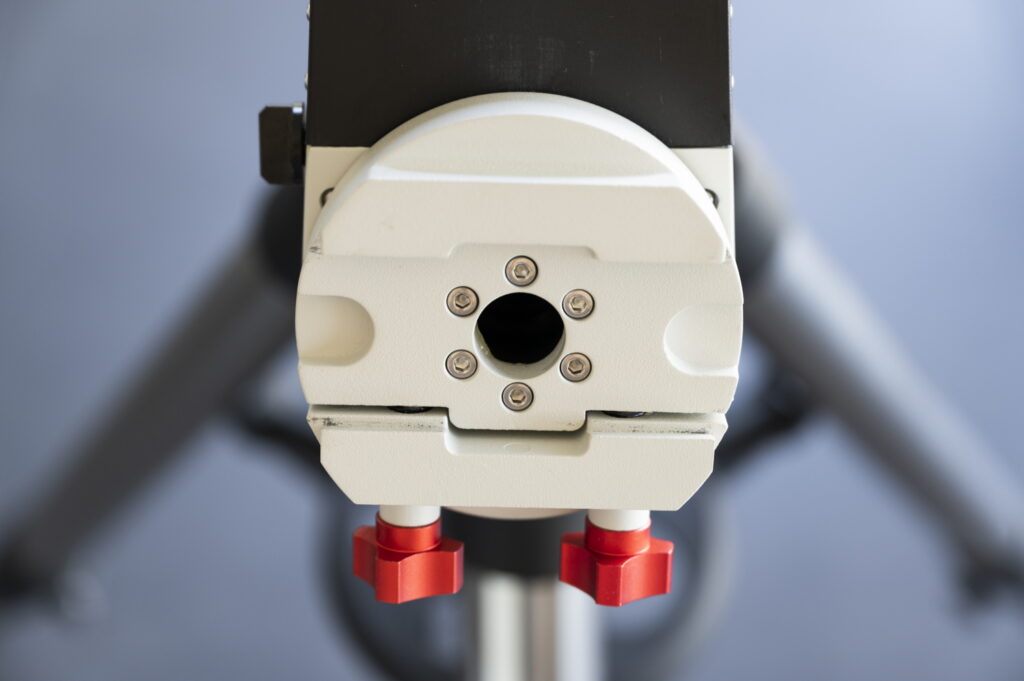
The tripod, weighing in at 5 kg, is very massive and stable. It can be adjusted in height from ca. 70 to 120 cm (plus the height of the head). The legs end in metal spikes that are covered in soft plastic domes. These seem to be made more to prevent the spikes from damaging anything in transport and not to use the mount on sensitive undergrounds. I’ve used them for the latter and they’re already worn out. My recommendation is to remove them and instead place the tripod on vibration suppression pads. The accessory tray (found in the top of the transport case) is locked between the tripod legs from below with a large plastic knob, giving the tripod a rock solid stand!
Setup of the mount is super easy. If you’ve ever owned an equatorial mount, you won’t need the user manual to get it up and running. And even if you’re new to this kind of gear, with a bit of practice you’ll have it set up in under five minutes! Speaking of manual, it’s only available in English. If you’re not fluent or new to some of the terms, this may leave you wondering at one point or another, but so far I’ve barely needed any guidance.
The counterweight bar is fixed with two screws, one of which actually goes into the bar. At the end of the bar, you’ll find another screw to prevent a loose counterweight from slipping off. All are important safety features appreciated by anyone that’s ever destroyed an expensive living room tile with a counterweight (yes, yours truly!). Telescopes can be mounted using the universal Vixen style dovetail system. On the CEM25EC, it makes for a very solid connection. I’m sure this is in part because the clamp is tightened with two separate knobs, but I find this somewhat impractical, as you have to switch back and forth between tightening one knob, then the other.
Assembly can be divided into three general phases:
1. Set up the tripod by extending the legs to the desired height, positioning it on the ground (alignment peg north) and inserting the accessory tray from below. Don’t fully tighten the tray locking knob yet!
2. Place the mount head on the tripod and thread in the center rod from below, securing the head to the tripod. Now tighten the tray locking knob! If necessary, adjust the tripod legs to level the mount.
3. Install the counterweight shaft, counterweight and telescope, then balance the mount.
4. Finally, connect all cables, including the hand controller, and switch on the mount!
If the mount is tilted to your approximate latitude and pointing somewhere near north, you might find that tracking accuracy is sufficient for your visual observing or wide-angle photography needs. I was able to expose for 60 seconds without trailing this way. For longer focal lengths and exposures, alignment using the polar scope is the way to go. I will explain this in part 2 of the review, where I will also go into detail on setup and aligning the mount to the sky using the hand controller for go-to functions!
Thank you to Astroshop.eu for providing the iOptron CEM25EC for this test.